Canon G2000 Scanner Mac Sierra Installation
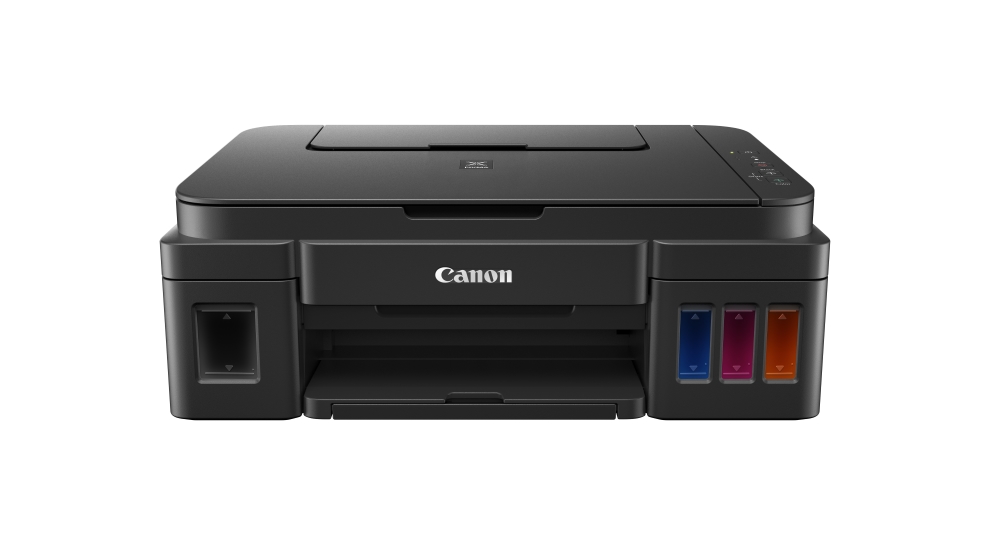
You are Welcome! The Mac Tutorial Shows You Step-by-Step How-to QuickStart with Canon PIXMA G2000 Scanner on Mac Sierra 10.12 OS X.
And to Install Canon G2000 Scanner on Mac OS X Sierra you have simply to Download and Install the Driver.
Furthermore, Included in the Guide you’ll find a Link to Install Canon G2000 Printer Driver on MacOS 10.12.
-
First Turn On the Printer
And Eventually Connect with the USB Cable.
But if you Prefeer then follow the Setup for a Wi-fi Connection. -
Download Canon G2000 Scanner Mac OS X Driver:
Select the G2000 Printer ICA Scanner Driver.
This Canon G2000 Driver is Valid for all the Printer Series! -
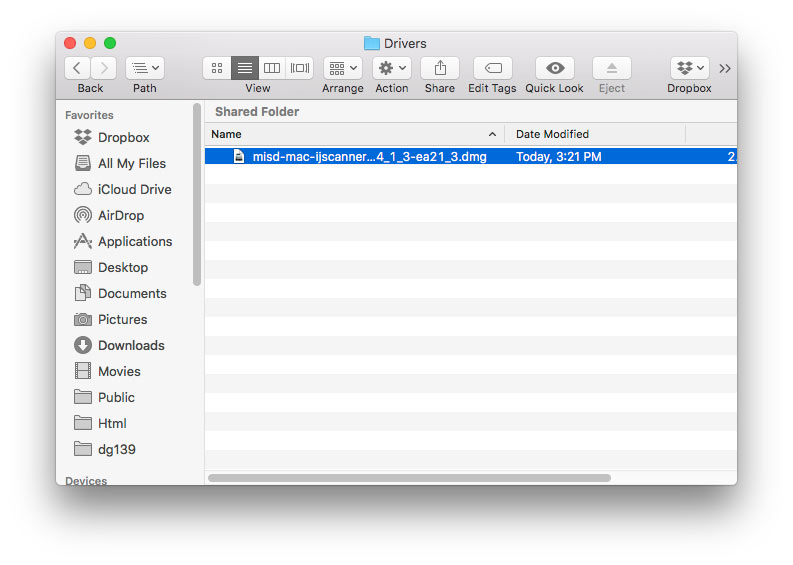
Double-Click on Archive to Mount
-
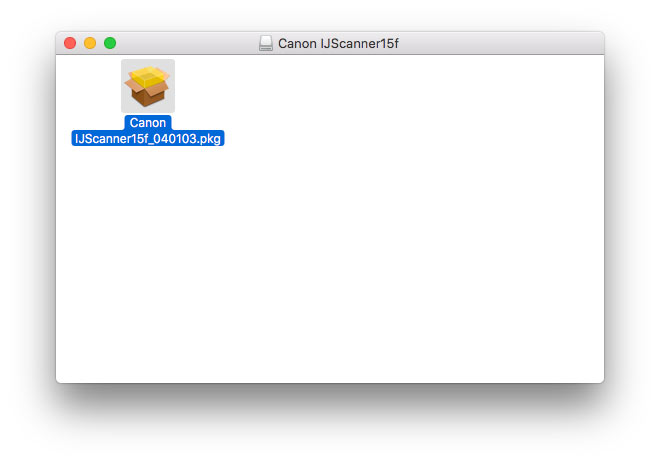
Double-Click on Package to Run
-
Click on Next and Follow with the Installation’s Wizard
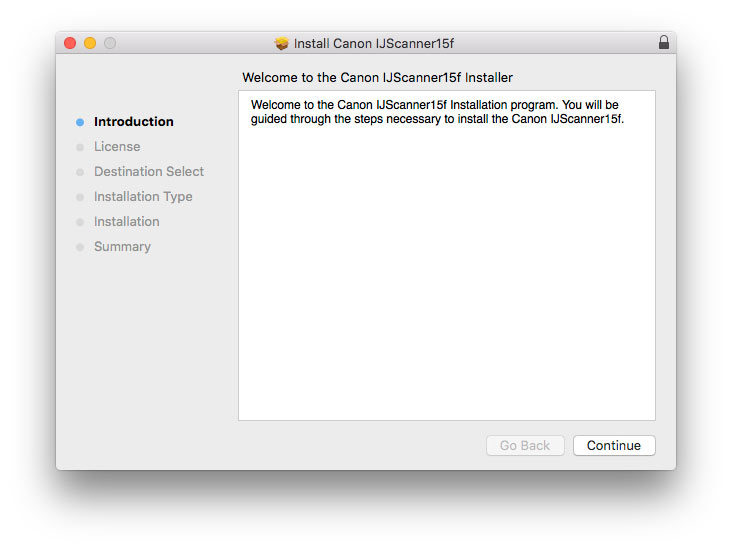
Agree to the License:
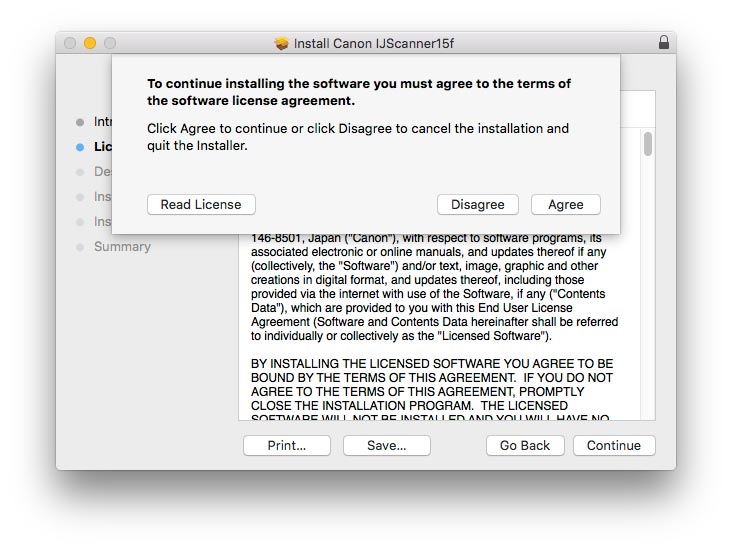
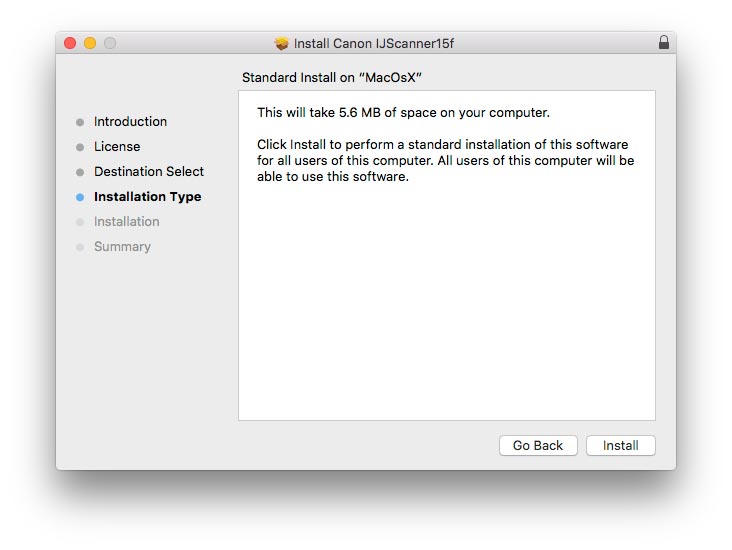
Then Click on ‘Install’ to Start Installation:
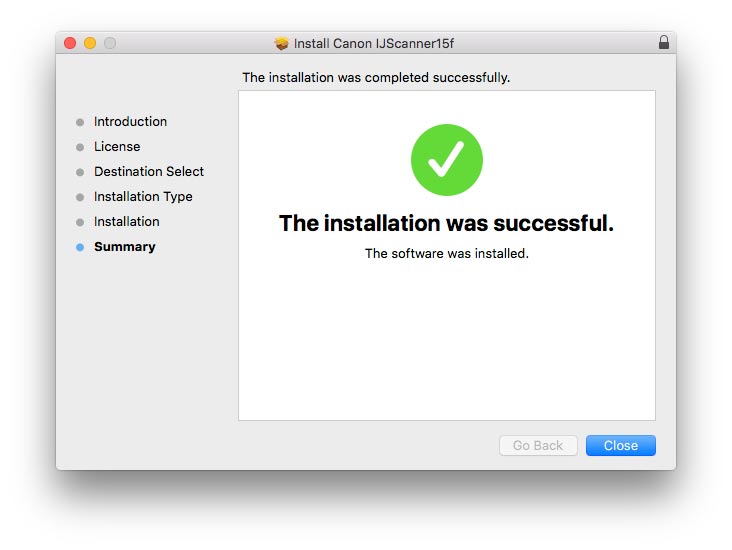
And in few Time the Driver will be Successfully Installed!
-
How-to Install Canon G2000 Printer Driver on MacOS Sierra:
